

Easy Step-by-Step Guide for Setting Up a Raspberry Pi 5 for Beginners
Everyone wants to work on raspberry pi 5 and importantly to know about the OS and how that OS installations work and here is the answer for your search in this blog we cover all steps required at the time of installation.
So Now here We start with our blog so stay tuned for more details about the process
Features of raspberry pi 5
- Processor: -Quad-core 64-bit Arm Cortex-A76 CPU
- RAM: – SRAM 4GB and 8GB
- Ethernet: -Gigabit Ethernet
- GPIO pins: – 40 GPIO header pin
- Ports: -2 USB 3.0 ports support 5Gbps operation
- Ports: – 2 USB 2.0 ports
- Wi-Fi: – Dual-band 802.11ac
- Bluetooth: – Bluetooth Low Energy (BLE) 5.0
- GPU: -VideoCore VII GPU
- Power: – 5V/5A DC power
Prerequisite to start
- Raspberry pi 5
- SD card
- SD card reader
- Power supply
- Keyboard
- Mouse
- Desktop
- HDMI cable
- HDMI to micro-HDMI adapter
- Active cooler
- Raspberry pi 5 case
Flashing the SD card
- Insert SD card into card reader and connect it to you PC or laptop
- Flash the SD card from Create and format hard disk partition or press Windows Key+X And select Disk Management.
- Select the Removable disk (SD card)
- Right click delete volume and Unallocated space

Disk will be formatted and will be ready for OS installation
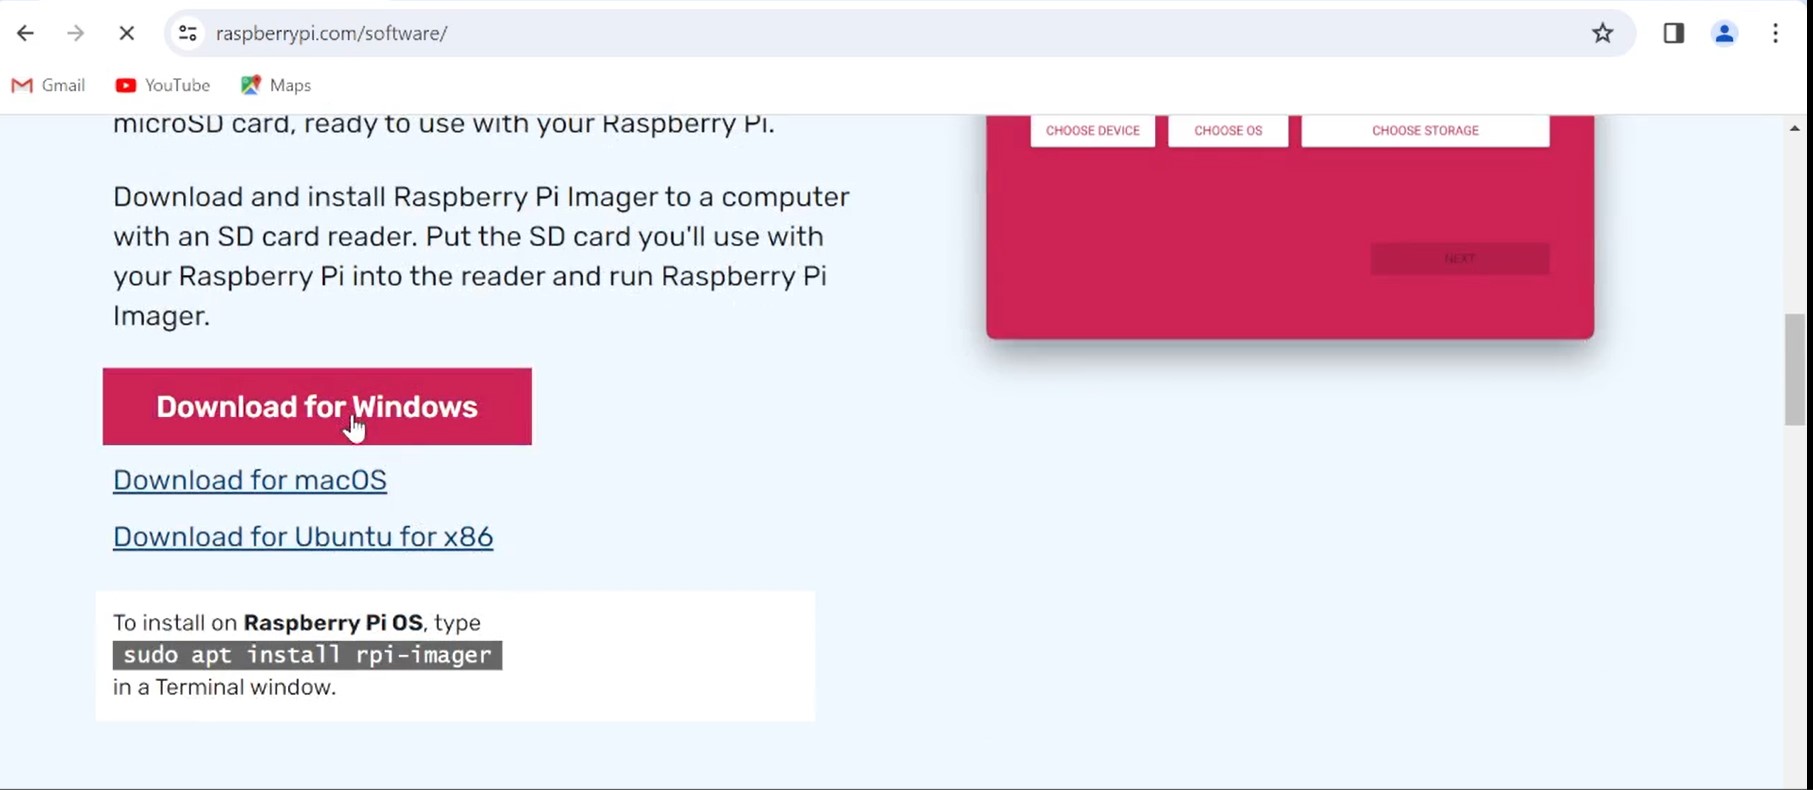
Installing OS imager
- Download the raspberry pi imager for windows from raspberry pi official web site
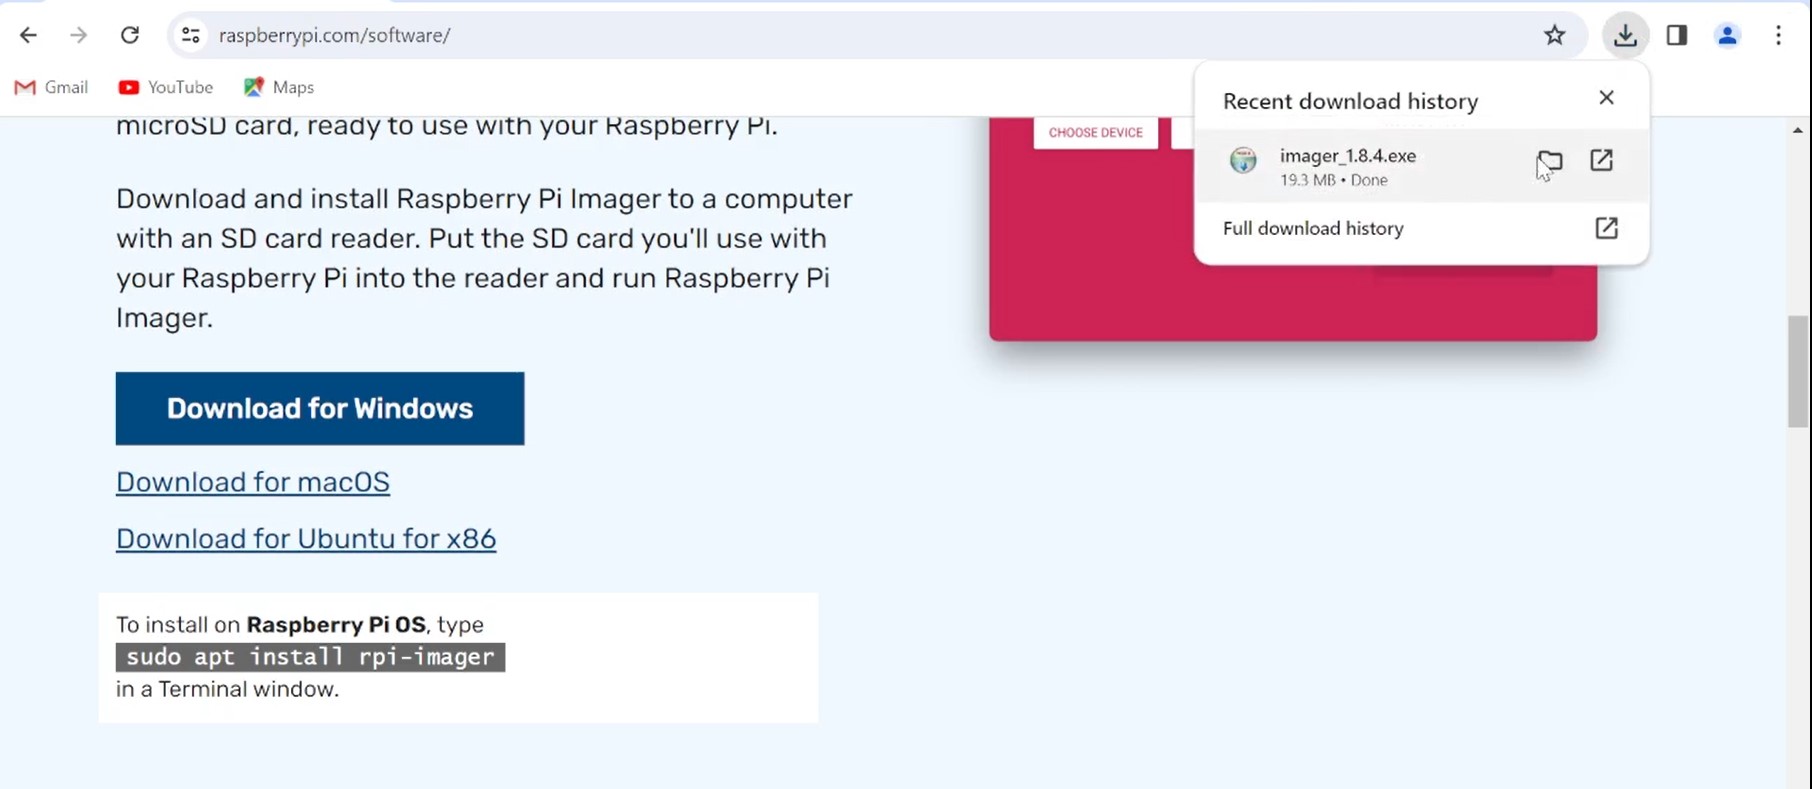
2. Install the imager

Setting up OS in SD card
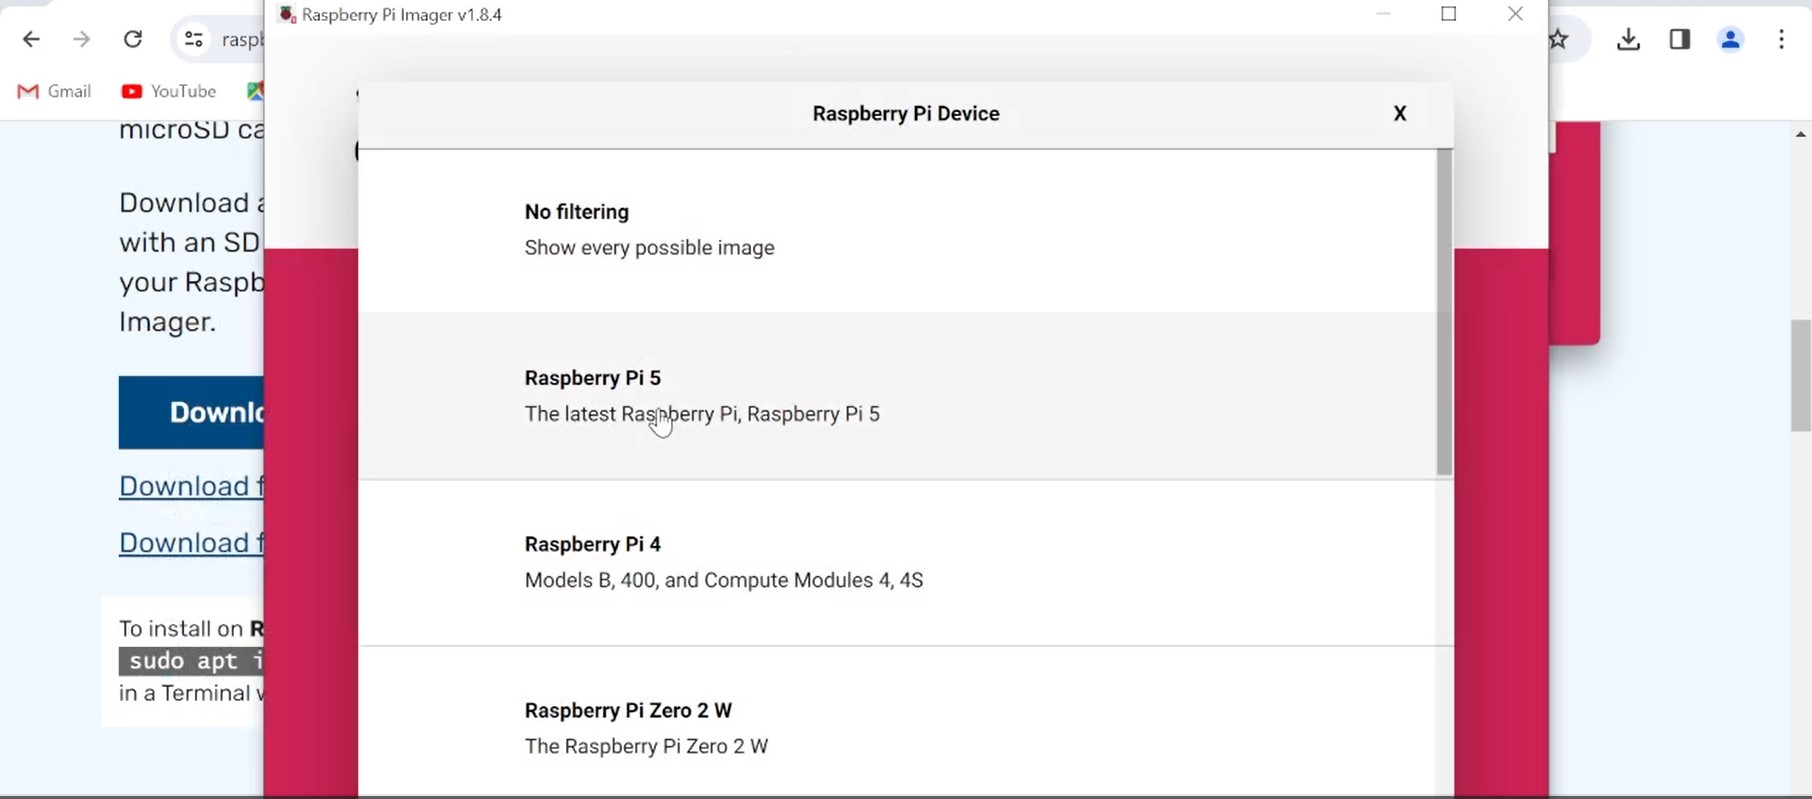
1. Open Imager and Select the following setting

2. Choose device raspberry pi 5
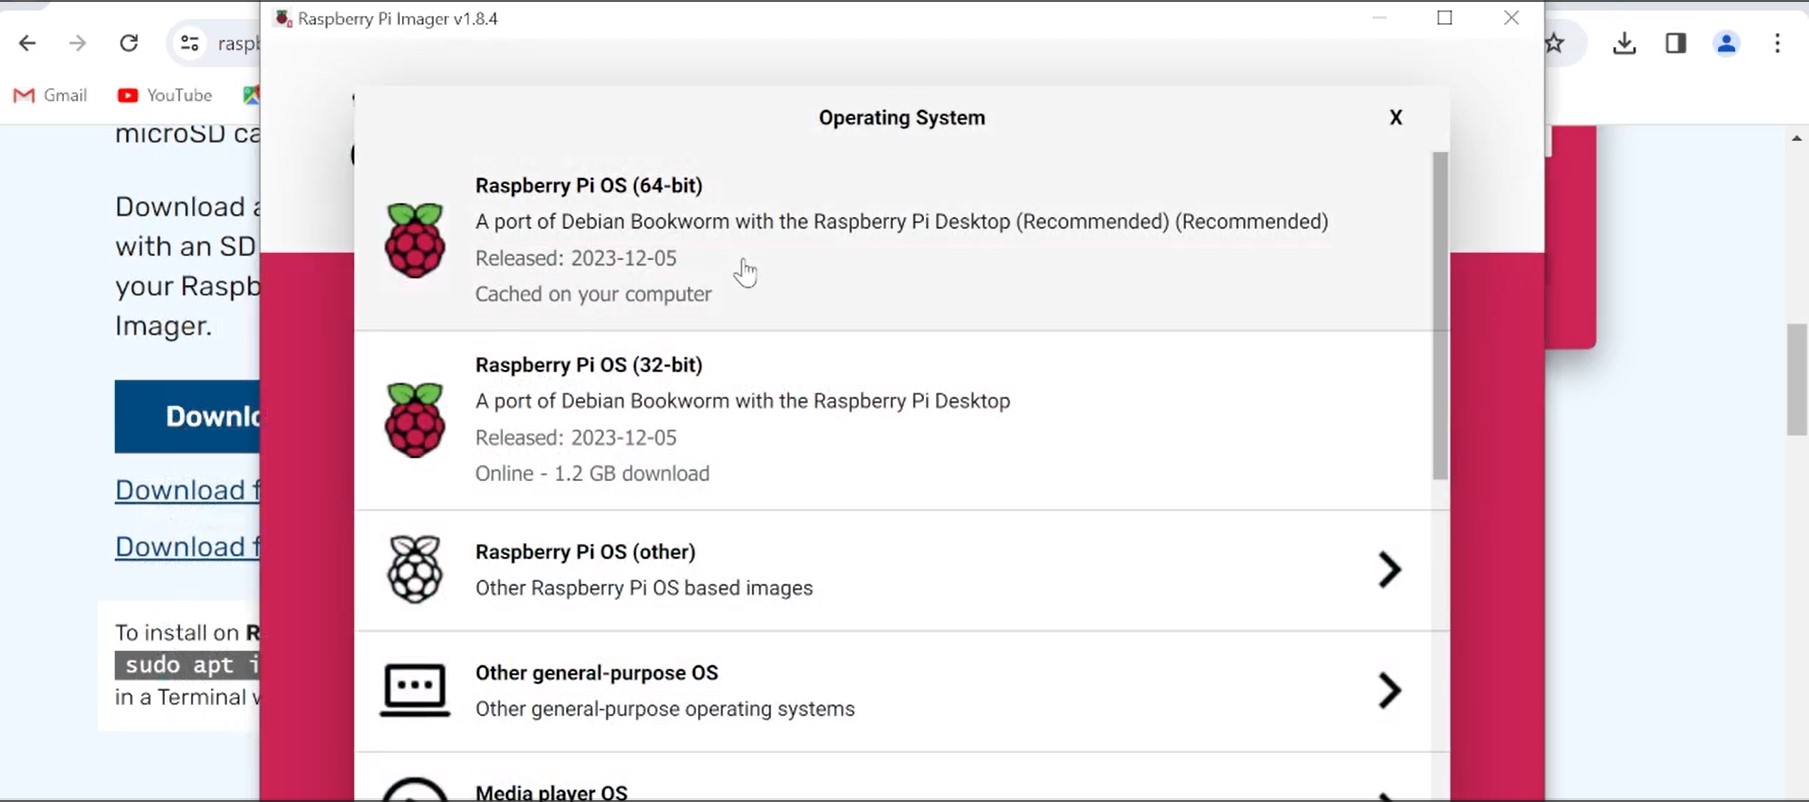
3. Choose operating system Raspberry Pi OS
4. Select the storage

5. Setup the User and Password just save it properly and provide Wi- fi name and password

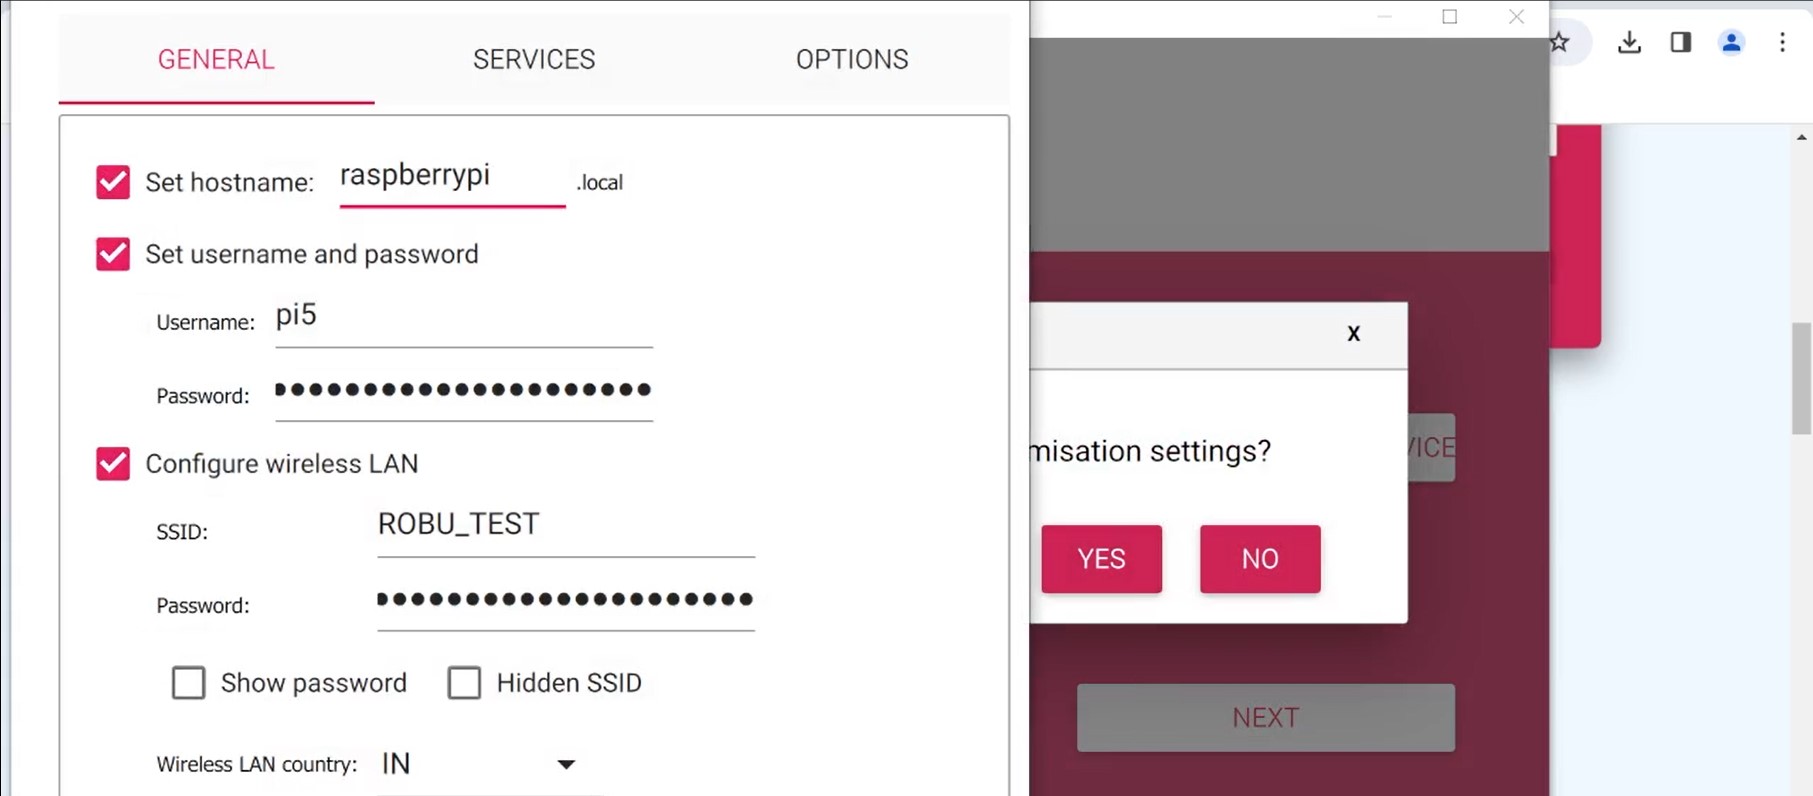
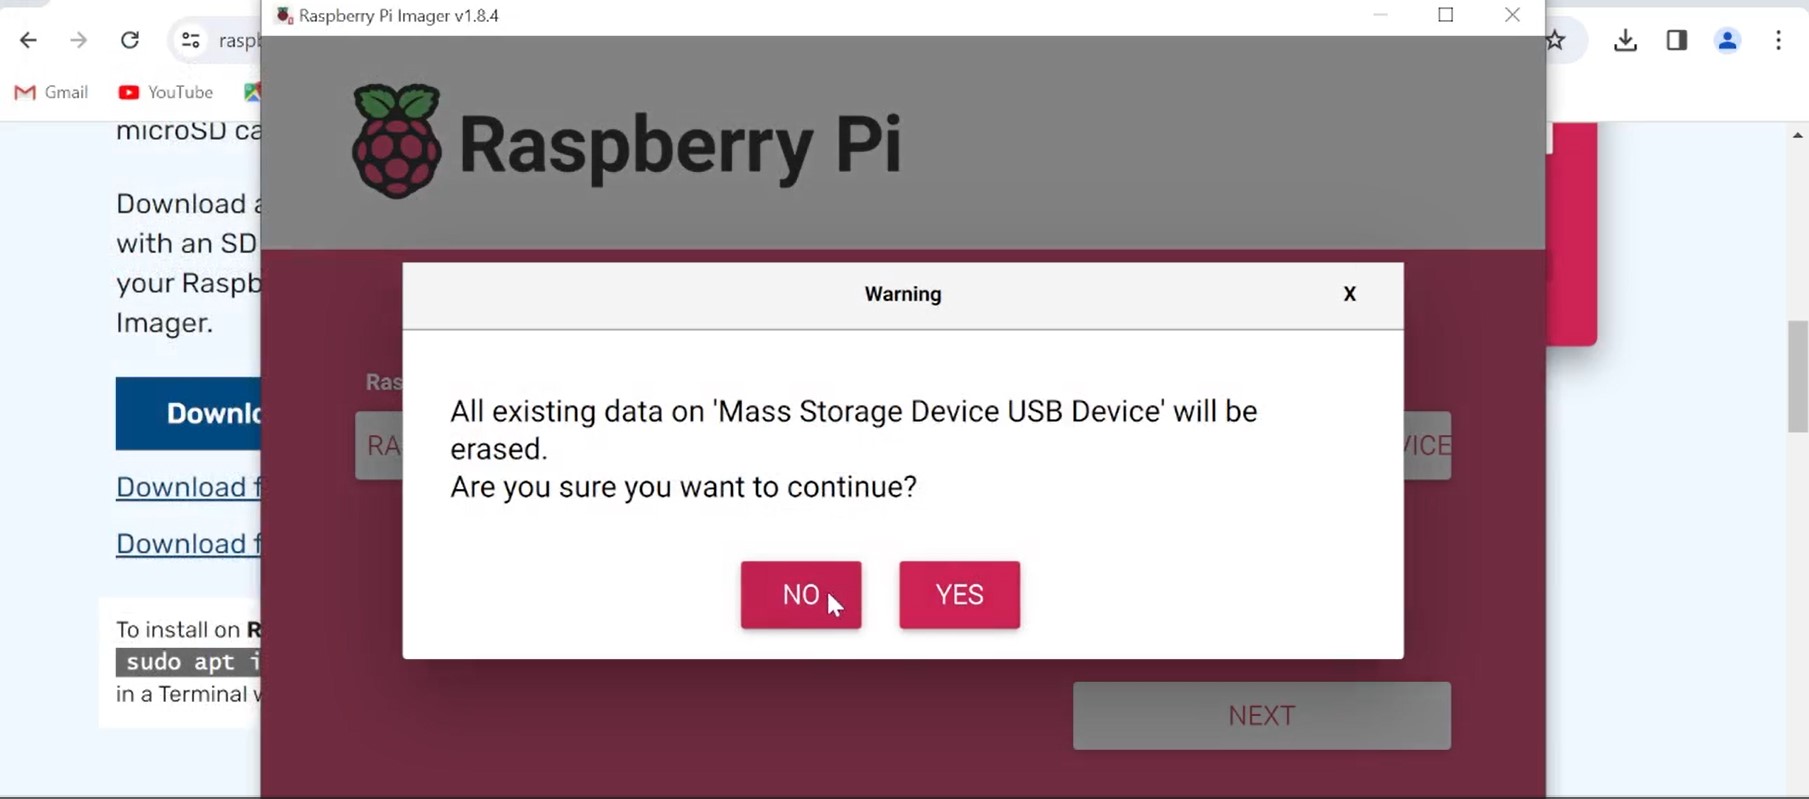
6. Click YES on confirmation message
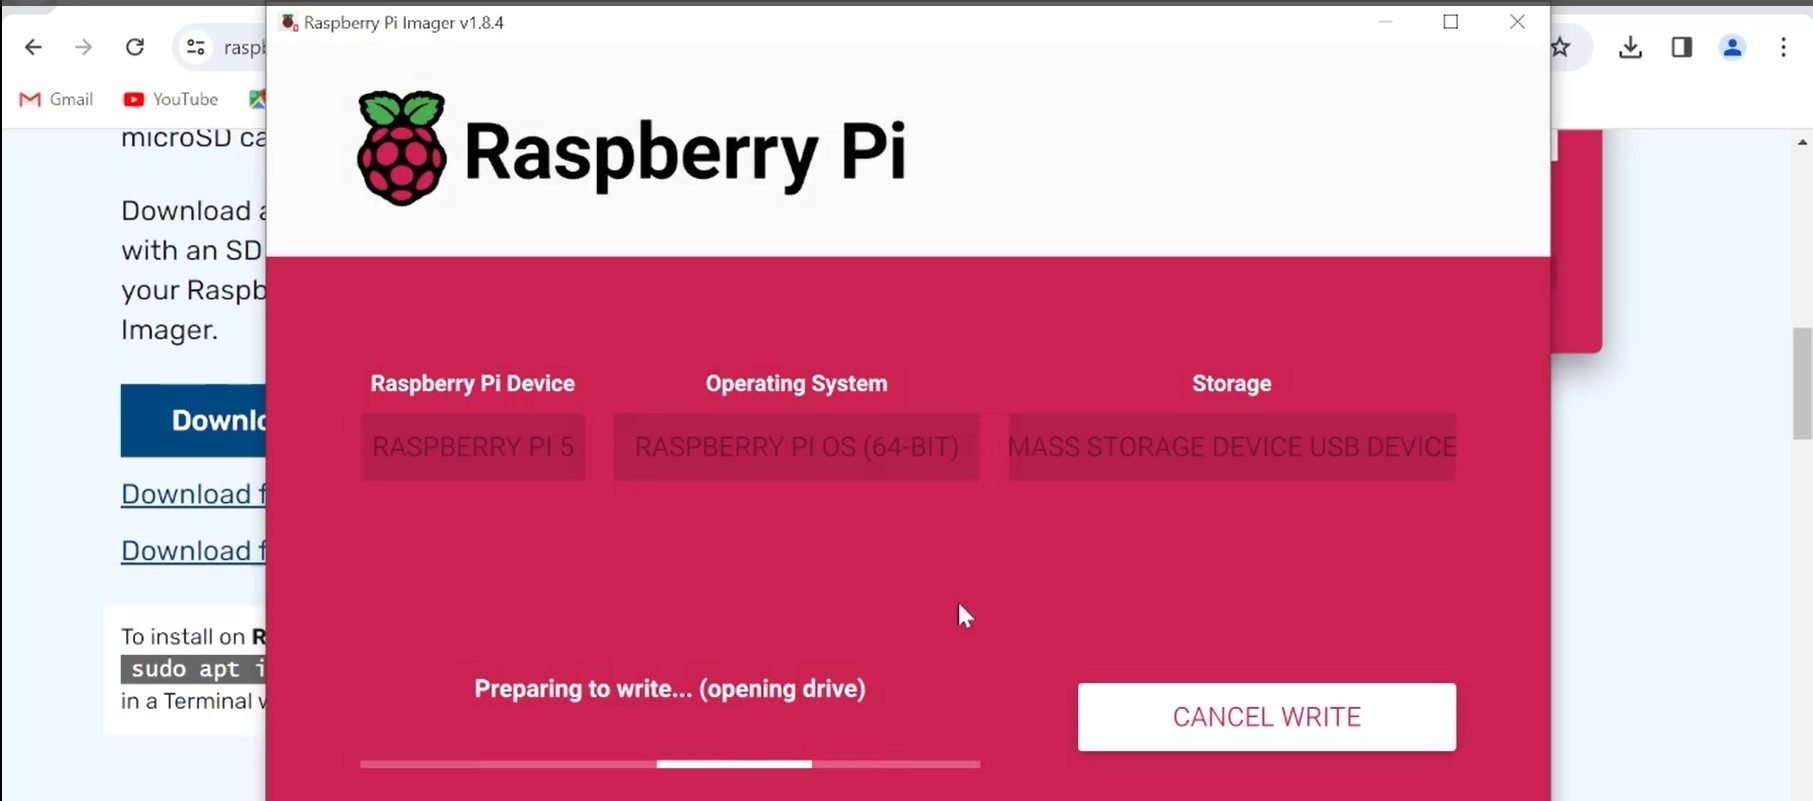
7 Start downloading OS

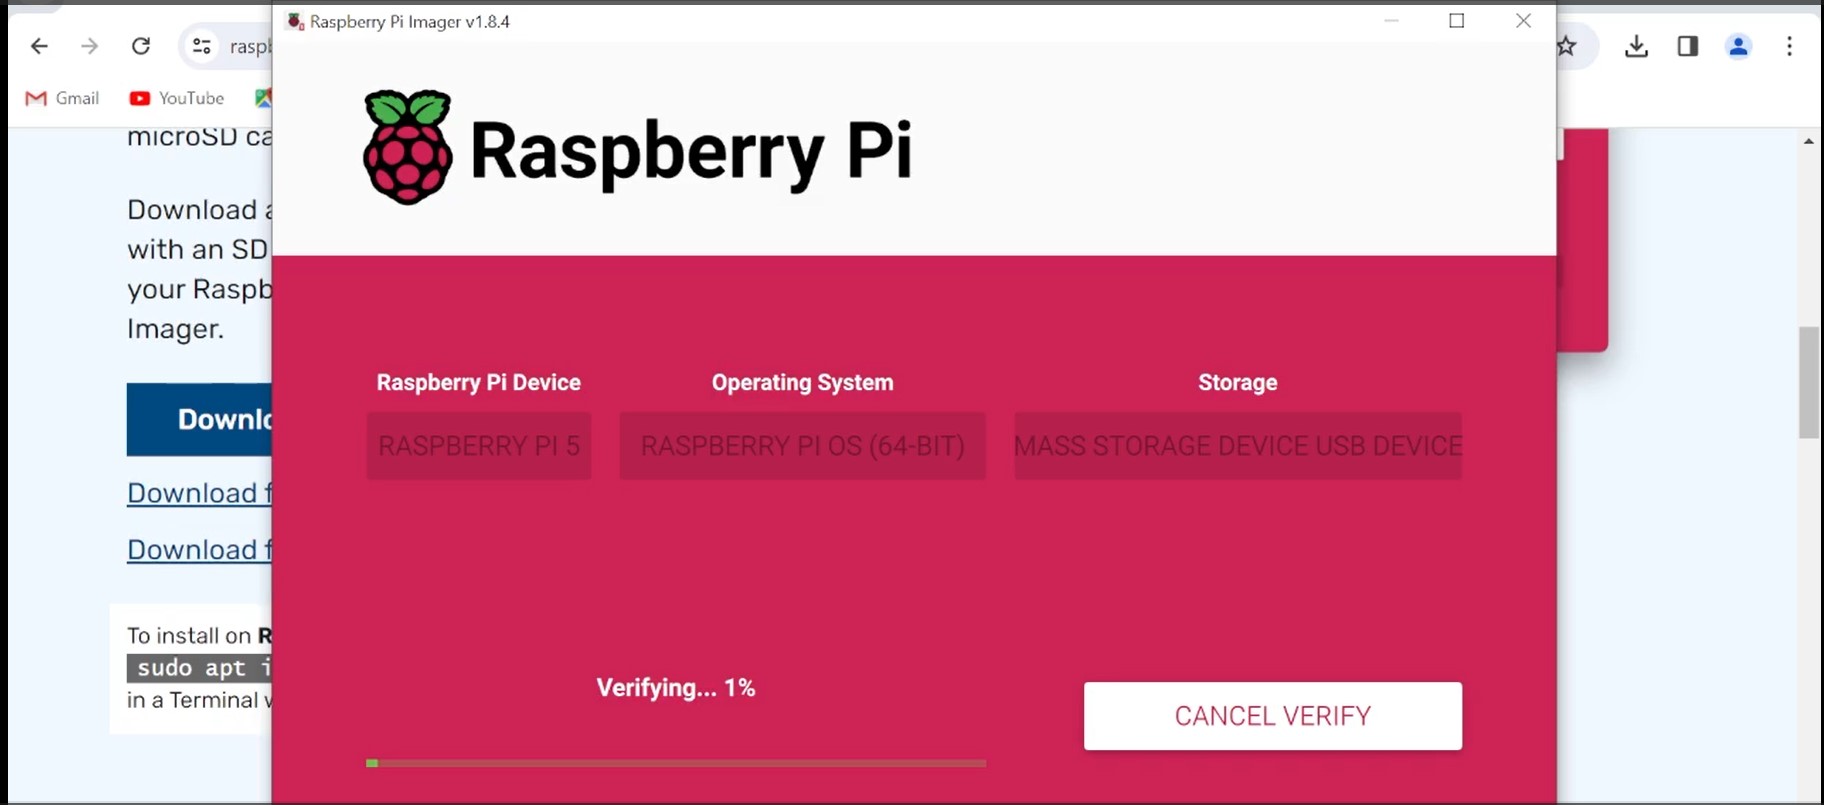
Once OS installation is completed remove SD card from card reader and insert it in raspberry pi 5
Setup the hardware
Connect keyboard, mouse, and desktop HDMI and supply to Raspberry pi 5
Place the raspberry pi in its case and connect Fan pins to pi board if you’re not using case use active cooler place it accordingly and connect it to pi.
Make sure all connections are proper
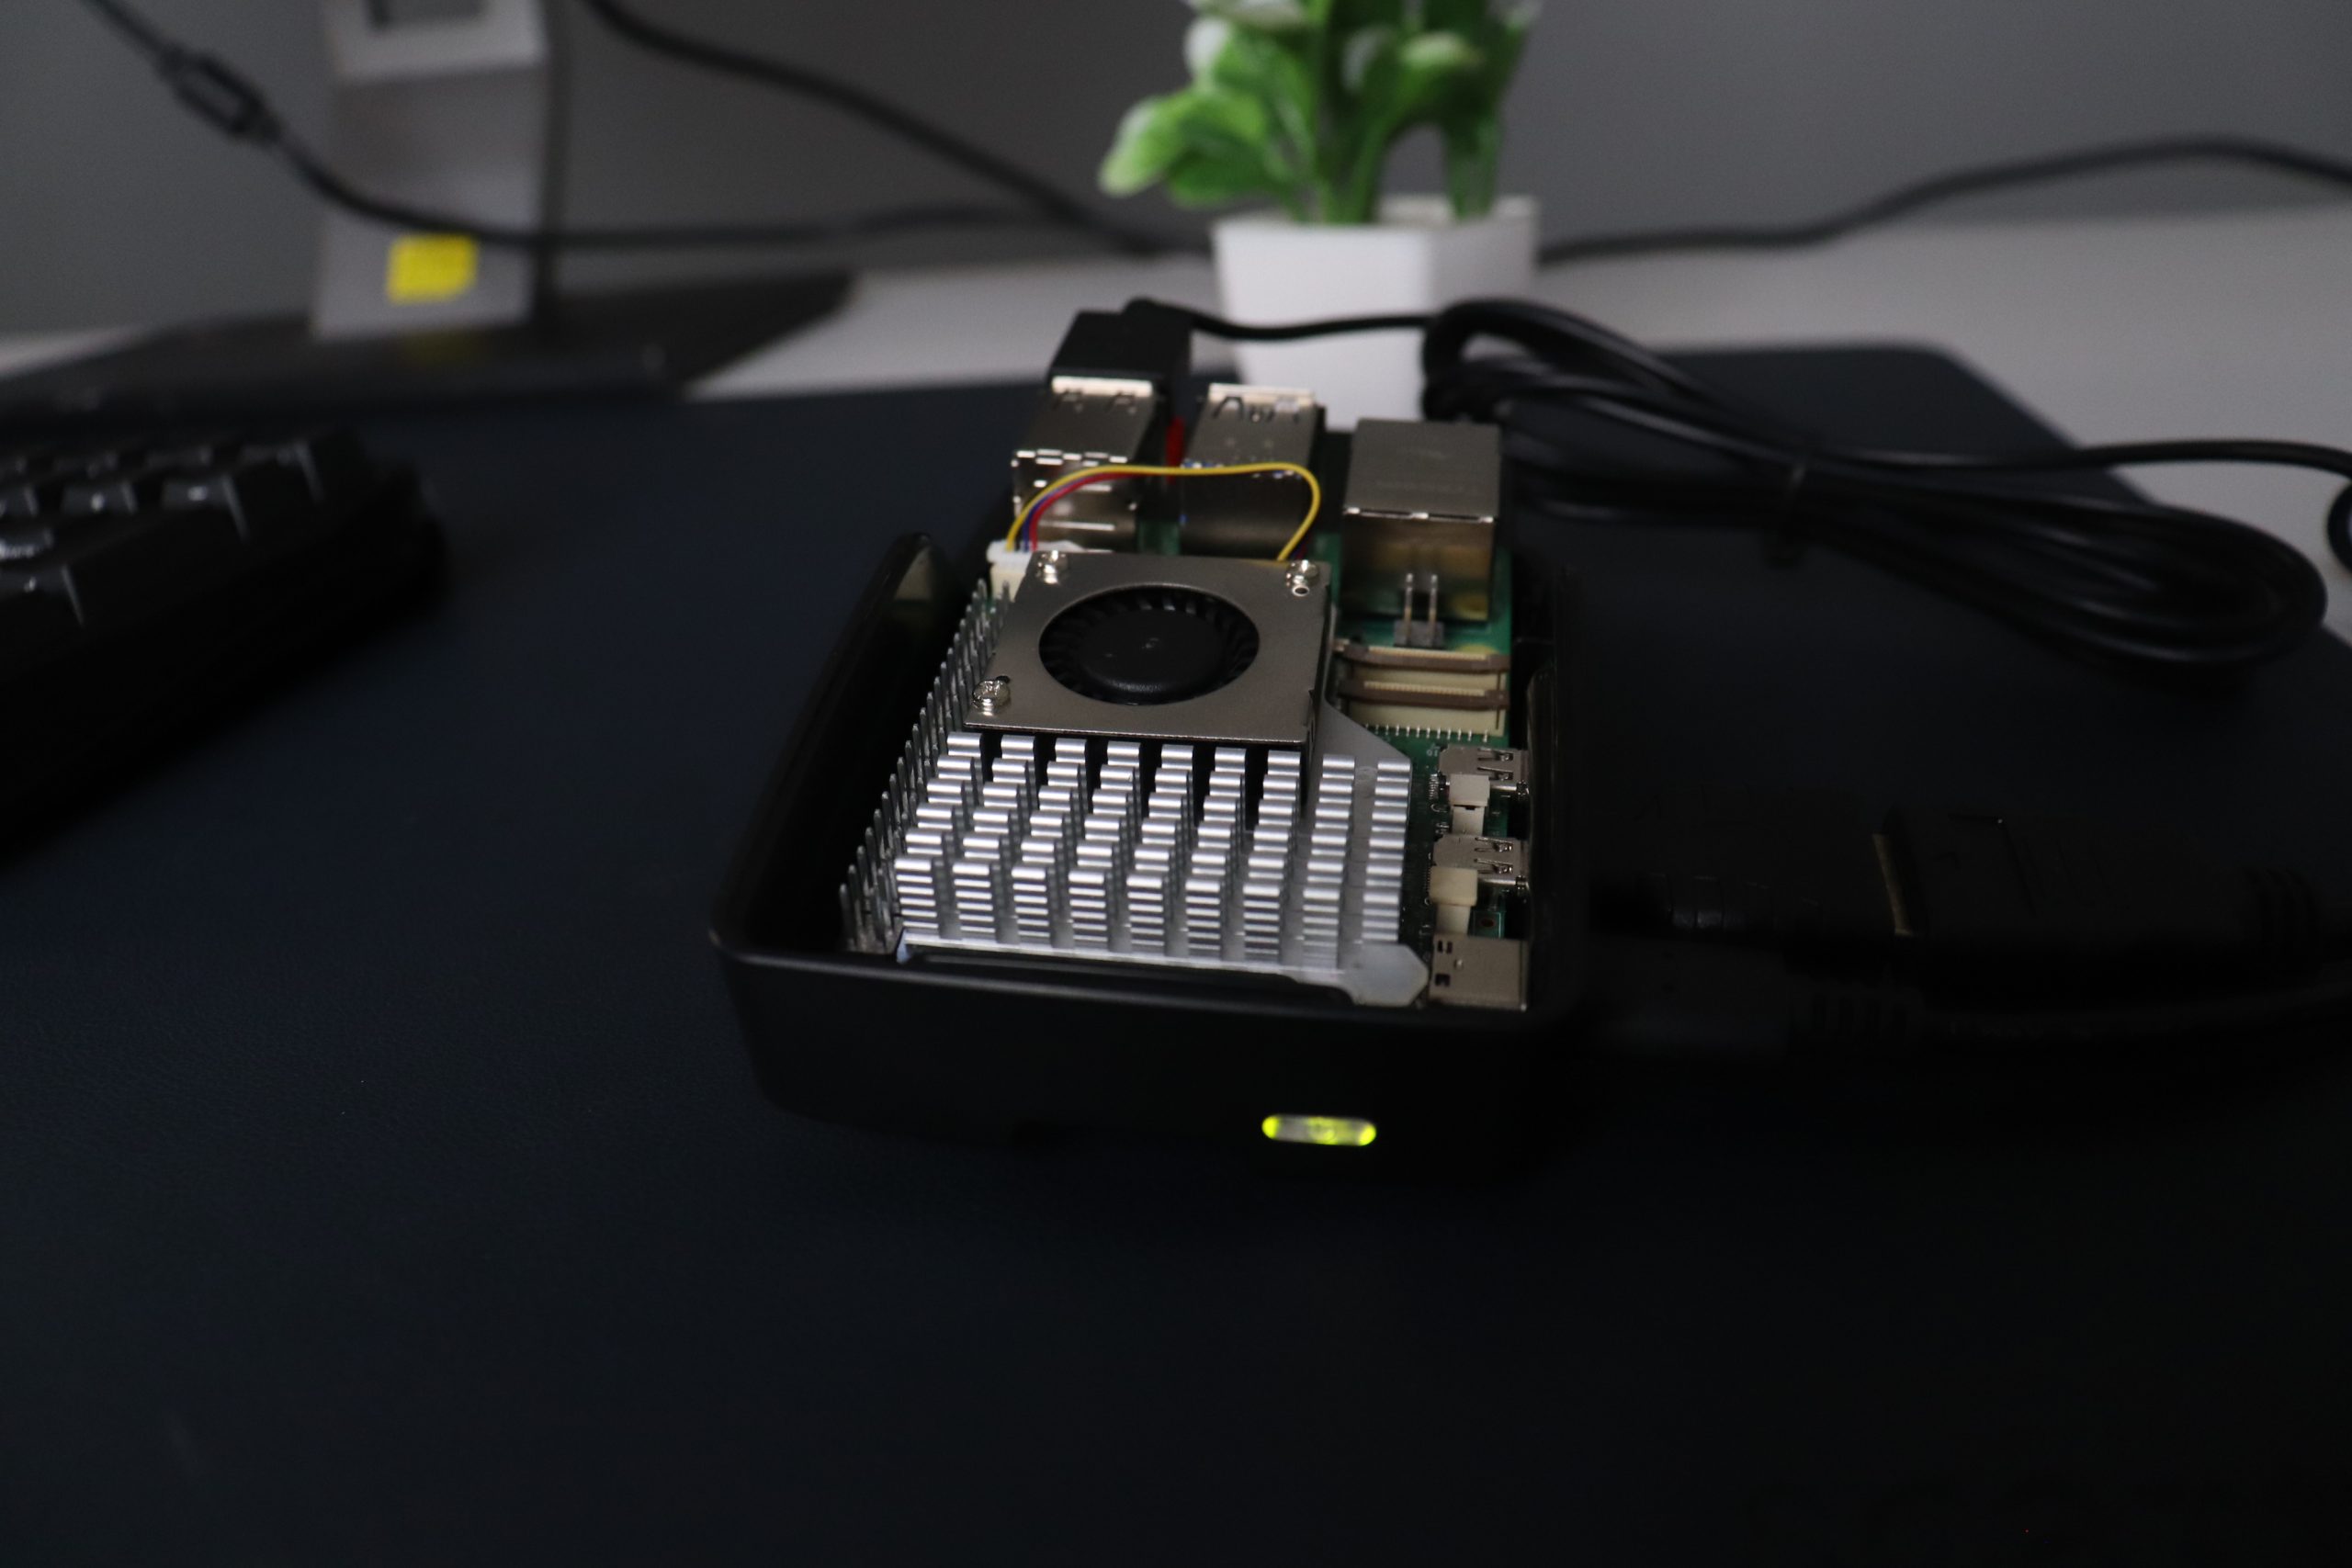
Connect the desktop to raspberry pi using micro-HDMI converter
Connect mouse, keyboard, power supply to raspberry pi 5
Turn ON raspberry pi 5
Connect it to Wi-Fi or Hotspot
Open the terminal
1 Sudo apt update
2 Sudo apt upgrade
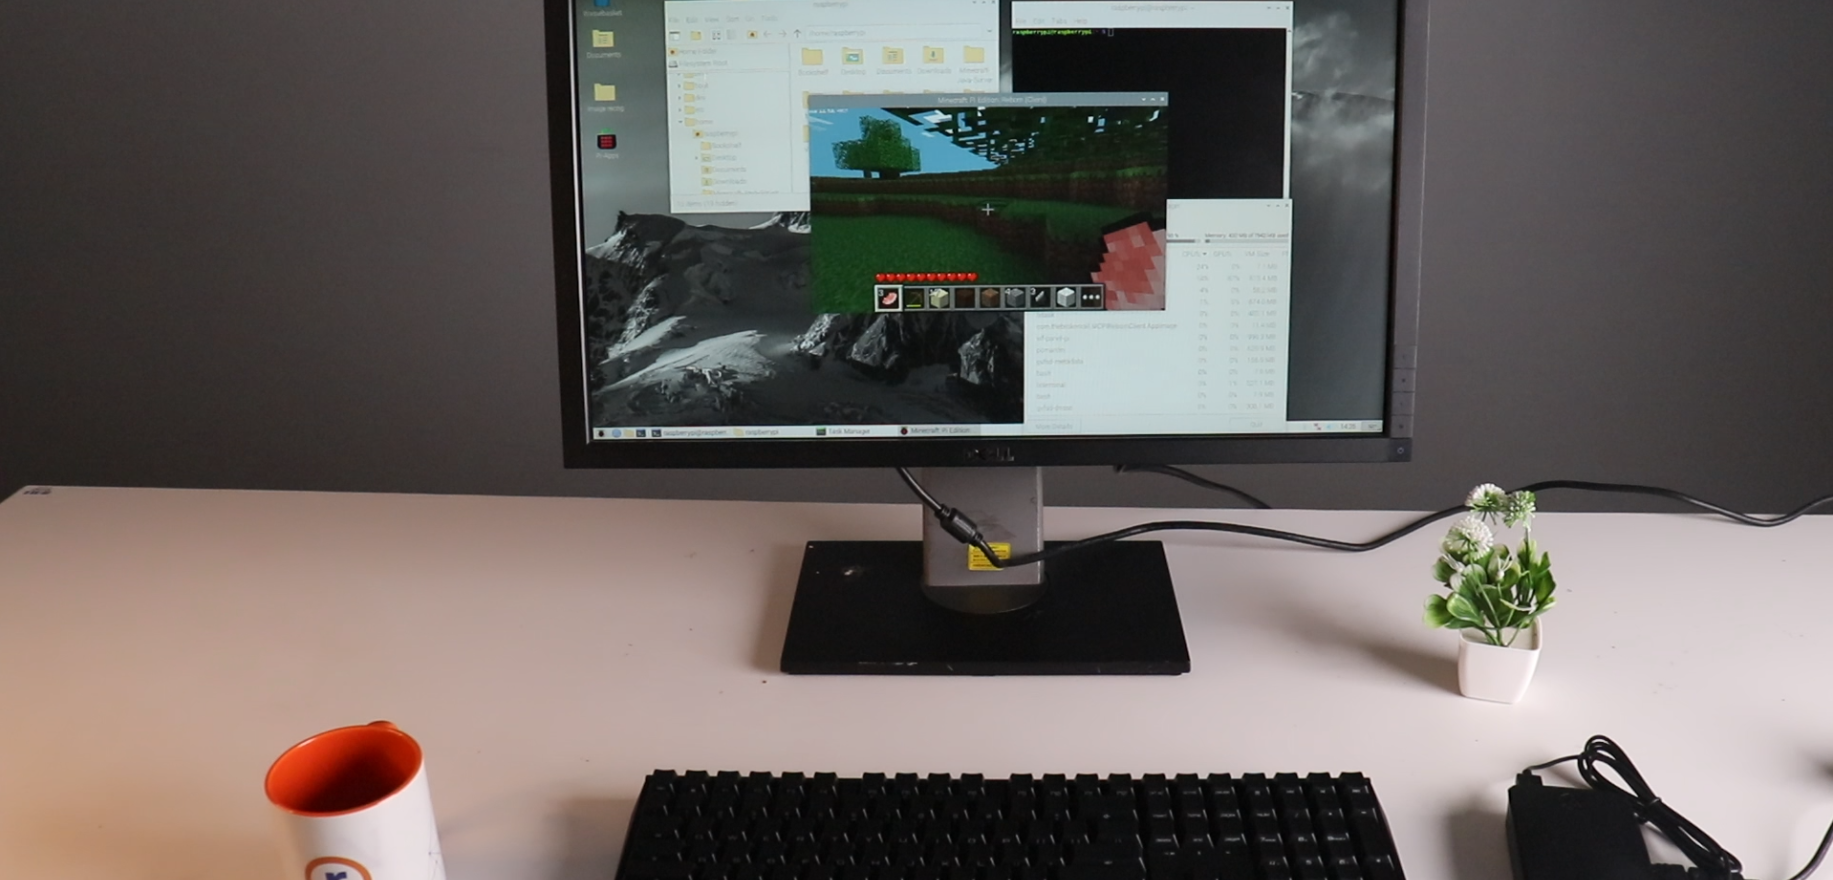
Get started with raspberry pi
That’s how Raspberry pi 5 setup completed now we can operate it like pc, program it, or do any other function according to our need we can install various game code editor we can also use it for embedded project.
Well written summary for complete setup!
Great to see the response!